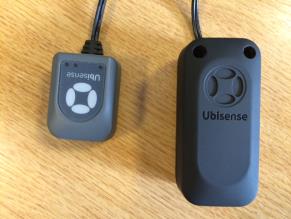
The Head and Battery Unit Tool Tag is supplied with a standard cable (wire) length, as shown in the following figure.
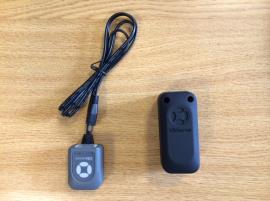
Head and Battery Unit Tool Tag
Before you attach a Head and Battery Unit Tool Tag to a tool, you must cut the wire to the correct length, depending on your particular requirements.
To prepare the tag, cut the wire to the appropriate length:
-
Determine the required length of the wire. Ensure that you allow sufficient length to properly terminate and strain-relieve the wires. Cut the wire to the appropriate length, as shown in the following figure. Discard the plug.
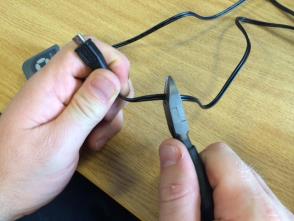
Cutting the Wire to the Required Length
-
Strip the wires and twist the individual strands together as shown in the following figures.
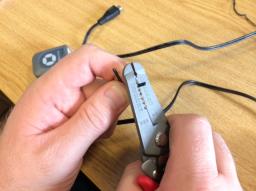
Stripping the Wires

Prepared Wires
-
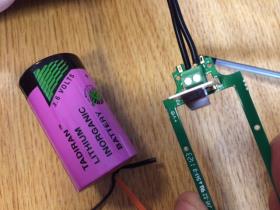
Remove the battery holder PCBA from the Battery Unit. Remove the battery, and locate the wire entry slot, shown in the following figure.
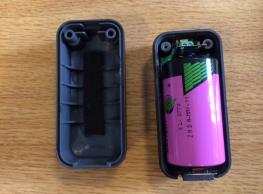
Battery Unit with the
Battery and Holder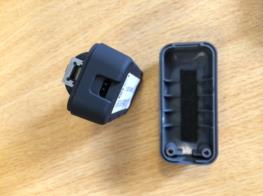
Battery Unit without the
Battery -
Pass the wire through the wire-entry slot, as shown in the following figure.
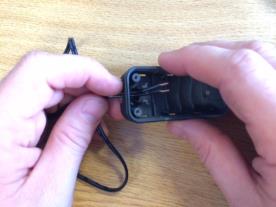
Passing the Wire through the Wire-entry Slot
-
Connect the wires to the terminal block on the battery holder as shown in the following figure.
Connecting the Wires
Ensure that you use the correct polarity. The positive terminal is marked on the Printed Circuit Board with a + symbol. The wire with the White Stripe is the positive wire.
-
Install the strain relief cable tie on the cable as shown in the following figure.
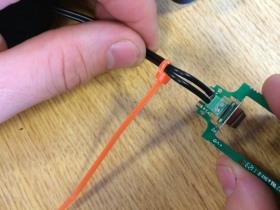
Installing the Strain Relief
To provide strain relief, pull the cable tie tight. Cut the excess length of the cable tie. -
Install the battery holder back in the battery box, ensuring that the strain relief is placed as shown in the following figure.

Battery Holder Installed in the Box
-
Reinstall the battery and assemble the Battery Unit, as shown in the following figure.
Assembled Head and Battery Unit
The yellow LED on the Head Unit slowly increase in brightness. After a few seconds, the yellow LED starts flashing to indicate the tag is communicating with the DIMENSION4 Real-time Location System.
You can now use the Tool Tag.